How to Price Handmade Pottery: A Costing Checklist for Small Studios
Two mugs can sit side by side on the same shelf, look equally well made, and still be doing very different things for your studio. One pays for its clay, its glaze, its share of the kiln, and a few hours of your attention, and still leaves something behind. The other has been quietly subsidised by every other piece in the kiln. The difference is rarely talent or speed. It is a costing sheet.
Most potters learn to make before they learn to count, and pricing gets pushed to the end of the process, decided by feel on the morning of a market. What follows is the checklist to run instead: the costs to gather, the order to add them in, and the margins to apply before anything gets a price tag.
Start With the Materials You Actually Consume
The clay in the finished pot is not the clay you paid for. There is trimming waste, water in the bucket, failed cylinders, test tiles, and the mug that cracked in the bisque. A workable habit is to weigh the finished piece once it is bone dry and multiply by roughly 1.2 to 1.3 to account for what was lost getting there. If you reclaim thoroughly, your real number will sit lower; if you throw large and trim hard, it will sit higher. Find your own figure and use it consistently.
Then keep going. Glazes, oxides and stains count, including the tests that never made it onto a pot. So do kiln wash, wadding, and the slow wear on shelves and elements. Add packaging, because a box, tissue, tape and a card are part of the object you are selling whether you charge for them separately or not. Finally, build in a breakage allowance across the whole batch, and remember that a piece broken in transit or on the table at a fair is a cost with no sale attached.
Put Your Hours on the Sheet
Labor is where most small studios lose money, because the hours are invisible. Throwing is the part you enjoy and remember; trimming, handle-pulling, waxing, glazing, wiping feet, loading, unpacking, photographing, listing and packing are the part that disappears.
The fix is a week or two of honest bookkeeping. Write down your start and stop times for a whole batch, from wedging clay to closing the box. Divide the batch time by the number of saleable pieces. A batch of twelve mugs that takes nine hours from start to packed works out at forty-five minutes each, and that is before you have answered a single email about them.
Multiply those hours by an hourly rate you would genuinely accept for the work. Not a symbolic figure, and not zero. If the resulting number makes the mug feel expensive, that is useful information: either the piece is underpriced, or the process has steps worth cutting, or you are making a shape that takes longer than the market will pay for.
Kiln Time and Overhead
Firing costs
Work out the cost of one firing: the electricity or gas, plus a contribution toward elements, thermocouples and shelf replacement. Then divide that cost by the shelf space in the kiln rather than by the number of pieces. A tall vase occupies far more shelf than a small bowl, and a kiln packed with mugs is cheaper per piece than a half-empty one. Estimate the footprint each piece takes and charge it accordingly. Test firings, glaze trials and sample batches all belong in the same accounting, because someone has to pay for them.
Overhead
Everything that keeps the studio running but does not touch a single pot: rent or a fair share of the household bills if you work from home, insurance, tools, wheels and their eventual replacement, software, card processing, market booth fees, travel, photography, subscriptions, and your bookkeeping. There are two clean ways to recover it. Add a fixed percentage to every piece, or calculate an annual overhead figure, divide it by the productive hours you realistically work in a year, and add that hourly amount to your labor rate. Either works. Guessing does not.
The Costing Checklist
Run every new piece through the same list before it goes near a shelf or a shop. Copy it into a notebook and keep it at the wheel.
- Clay: dry weight of the finished piece, multiplied by your loss factor
- Glaze and decoration: an estimated share of materials, including tests
- Packaging: box, wrapping, card, tape
- Breakage allowance: a percentage across the batch
- Labor: recorded batch hours divided by saleable pieces, at your chosen rate
- Firing: cost per firing divided by shelf footprint
- Overhead: your percentage or hourly share
- Selling costs: card fees, platform fees, booth fees or gallery commission
- Base cost: the total of everything above, for one piece
From Base Cost to Shelf Price
Base cost is your floor, not your price. The conventional craft formula doubles it for wholesale and doubles again for retail, which puts a retail price at roughly four times base cost. That doubling is not greed; it covers profit, the cost of holding stock, the risk of unsold work, and the extra handling that wholesale accounts require.
Wholesale deserves its own line of thinking. If you sell to shops, you will need a simple line sheet with prices, minimum order quantities, lead times and payment terms, and you will need to accept that those shops will resell at roughly double what they paid. Do not undercut them by selling the same piece at wholesale prices from your own stall. Decide in advance whether you will offer exclusivity on a design, and put your terms in writing. On commission or consignment, read the agreement properly and check when you get paid and who covers loss or damage; if the terms are unclear or the amounts are significant, it is worth taking advice from someone who deals with contracts professionally.
Platform and payment fees are easy to forget and easy to absorb. Decide early whether your listed price includes them or whether they come off your margin, and be consistent.
Reviewing Prices Without Apologising
Clay and glaze prices move. Your speed changes. A handle you used to attach in four minutes might now take eight because you have become more careful. Prices should follow, but they do not need to follow dramatically.
The calm approach is an annual review, done piece by piece rather than by category, with a note of what changed and why. When a rise is needed, apply it to new work first and let existing stock sell at the old price. Give wholesale accounts advance notice, in writing, with a clear date. And state your prices plainly at markets, without the small apologetic laugh that invites a discount. A price delivered with confidence is far easier to accept than one delivered with a wince. If something sells out instantly every time, that is usually a sign the price can go up rather than a sign of success.
Keep the Sheet Where You Can See It
None of this needs to be elaborate. One page per year, with your material costs at the top, your hourly rate and overhead figure in the middle, and a short list of your main forms at the bottom, each with a base cost and a shelf price beside it. Update it when a supplier raises prices or when a design changes. Add a new line whenever you make something you have not made before.
The point is not to turn the studio into an accounting exercise. It is to make sure that the work you love doing is still there next year, supported by prices that tell the truth about what it takes to make it.
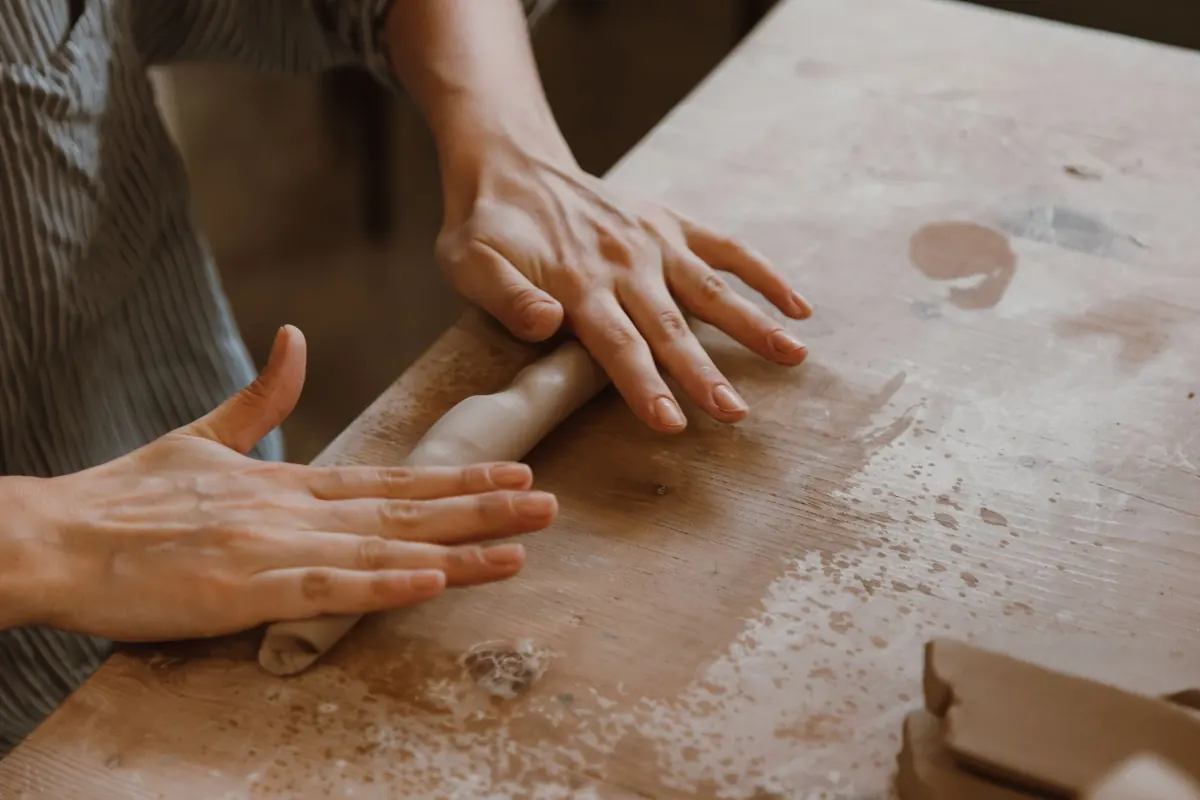
Photo: Anna Romanova / Pexels

You Might Also Like
A practical field guide to finding, sampling, and testing wild clay along Italy’s coast, with safe collecting habits and simple tests for potters.
Coastal humidity stretches drying times and sets traps for uneven pots. A season-by-season guide to reading the air, slowing the right things down, and firing crack-free.