A Seasonal Guide to Drying Pots in Humid Coastal Weather
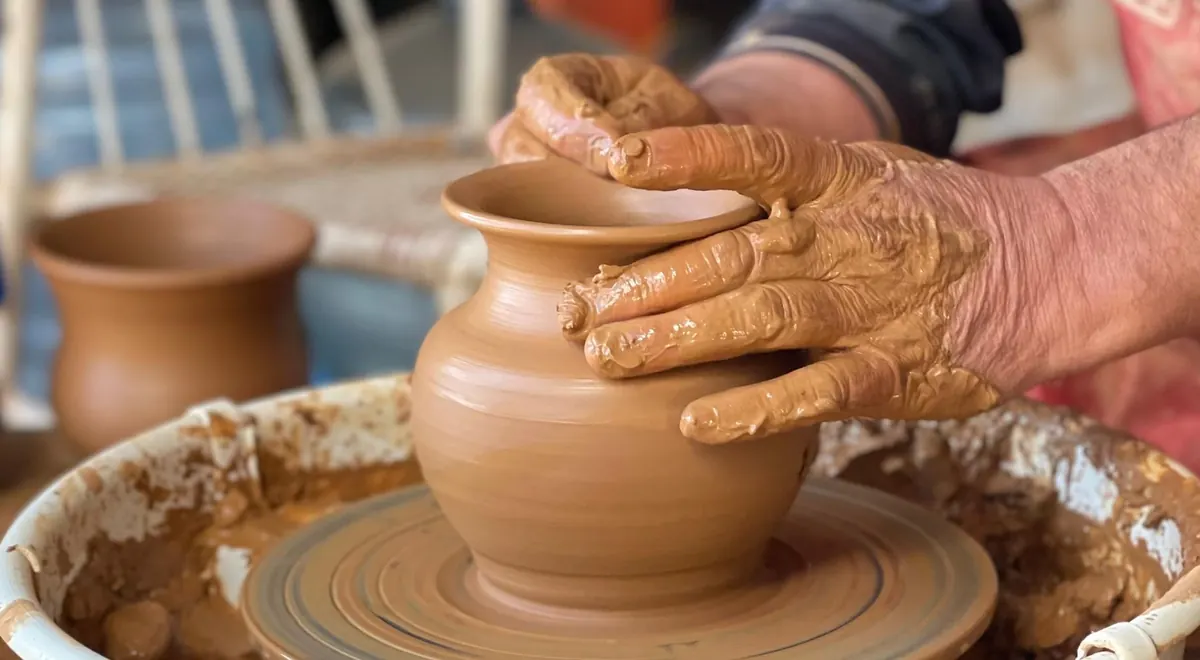
Clay near the sea dries to a rhythm set by the weather rather than by the clock. On a bright, breezy morning a bowl might firm up enough to trim in a day; two weeks later, with fog pressed against the studio windows, the same bowl sits soft at the base while its rim has already gone leather-hard and started to lift away from the bat. Most of the trouble we blame on clay is really trouble with water leaving different parts of a pot at different speeds. Humid air slows the whole process down, and wind and sun speed it up unevenly. Learning to read those two forces is most of the skill.
Why coastal air behaves differently
Drying is not about time passing. It is about the difference between the moisture in the clay and the moisture in the air around it. When relative humidity sits in the eighties or nineties, that difference is small, and evaporation crawls. Add cool stone walls, a concrete floor and a workshop that never quite warms through, and you have a room that holds water almost as well as a damp box.
Two habits help more than any gadget. First, buy a cheap hygrometer and hang it at shelf height, not near the door, and glance at it before you decide whether to cover a pot or leave it open. Second, notice that coastal days have two drying climates, not one. A sea breeze can pull a rim dry by mid-afternoon and then stall completely at sunset, when the temperature drops, the breeze dies and the air near the ground reaches dew point. Pots left uncovered overnight in that shift are the ones that crack at the base.
Salt in the air matters less than people fear, but it does leave a film on bats, tools and ware boards, and damp boards can feel tacky. Wipe them down now and then, and dry them on edge rather than flat.
Reading the seasons
Spring
Spring is the deceptive one. Warm afternoons make everything feel fast, but the nights are still cold and the air is often wet. Work in the morning, cover by mid-afternoon, and expect pieces to sit overnight without much change. Handle joining and throwing on the same day where you can; a handle added to a stiffened body makes a weak, stressed join.
Summer
This is your fast season, and fast is not always good. Sun through a south-facing window can dry one side of a pot while the other stays cool — a reliable recipe for warping and for S-cracks in flat bottoms. Keep pots out of direct sun, use a fan to move room air rather than to blast the ware, and cover anything with thin rims, handles or sculptural edges with light plastic so the rim does not set before the body does.
Autumn
Warmish, wet air, long evenings, and a studio that stops drying overnight. This is the season for the damp cupboard, for plastic sheeting and for patience. Large pieces started in September may need two or three weeks. Give them a full shelf each and resist the urge to crowd them for a kiln load.
Winter
Cold air holds little moisture, so the indoor air can actually be drier than summer, especially in a heated room. But cold clay and cold rooms slow the early stages, and a pot dried near a heater will crack as surely as one dried in a draught. Heat the room gently and evenly, or accept slower drying; avoid pointing anything hot at greenware.
Setting up a drying space that works
You do not need a purpose-built drying room. You need control over three things: air movement, covering and contact.
- Open shelves, not the floor. Air moves under and around a pot on a slatted shelf. On a concrete floor it sits in a puddle of cold, damp air.
- Plaster bats and dry boards. Plaster draws water out through the base, which evens out the pot. Wood holds moisture and warps; metal goes cold and condenses. Keep spare boards dry and rotate them.
- Plastic that you can adjust. A dry-cleaning bag or a sheet of polythene draped over a shelf, lifted at one corner, gives you a dial: more gap means faster, no gap means near-stop.
- A damp box for work in progress. A lidded plastic crate with a plaster slab in the bottom will keep pots workable for days, which is the real answer to humid weather — do not fight it, store in it.
- A small fan for the room. Point it at the wall or ceiling, never at the ware.
What an evenly drying pot looks like
Colour is the first clue. Most clays darken slightly as they lose water, and the change should move up the pot from the base at roughly the same rate all round. A pot that is pale at the rim and dark at the foot is telling you it is drying unevenly, and that is when you cover it. Touch the base of a jug: if it is noticeably cooler than the walls, it is still wet where it matters most. Lift it, too — a pot that feels lighter than it looks is further along than you thought. Trim at leather-hard, when the surface takes a fingernail mark without sticking and the shavings curl off cleanly.
Preventing cracks and warping
Almost every crack has a cause you can point to. Compress the base of a thrown pot and round the rim rather than leaving a thin, sharp edge that dries first and pulls away. Throw and join at consistent moisture levels. Avoid abrupt thick-to-thin transitions; a heavy foot with a paper-thin wall is an argument waiting to happen. Dry flat pieces, plates and tiles between two boards with a light weight on top, and flip shallow bowls upside down on a rim that has firmed up so the base does not dry last.
For anything with handles, spouts, or added decoration, dry it slowly and cover it for the first day. If you can see a crack beginning at a join, wrap the piece and leave it alone; sometimes re-wetting the surface and easing the join closed under plastic will save it. Do not chase a crack with a wet finger in open air — you will only speed up the drying around it.
Before you bisque
Greenware can look dry and still hold water in a thick foot ring. Weigh a piece when you think it is ready and weigh it again two days later; if the number has moved, it is not ready. In humid weather, give the kiln a slow start with the lid cracked and a low soak to drive off residual moisture before climbing, and keep the first part of the firing gentle. It costs an hour and saves a shelf of blowouts.
A simple routine for humid weeks
- Check the hygrometer and the forecast before you decide what to make.
- Throw in the morning, cover in the afternoon, trim the following day.
- Dry everything on plaster or dry board, off the floor, out of sun.
- Cover rims, handles and thin edges first, since they set first.
- Weigh suspect pieces twice before they go near the kiln.
Coastal weather is not an obstacle so much as a slower, more variable teacher. Once you stop expecting pots to dry on a fixed schedule and start drying them by eye, by touch and by the reading on a cheap hygrometer, the cracks and warps that seemed random will mostly stop happening. Give your work the time the air is willing to give it, and it will reward you at the wheel and in the kiln.
You Might Also Like
A practical field guide to finding, sampling, and testing wild clay along Italy’s coast, with safe collecting habits and simple tests for potters.
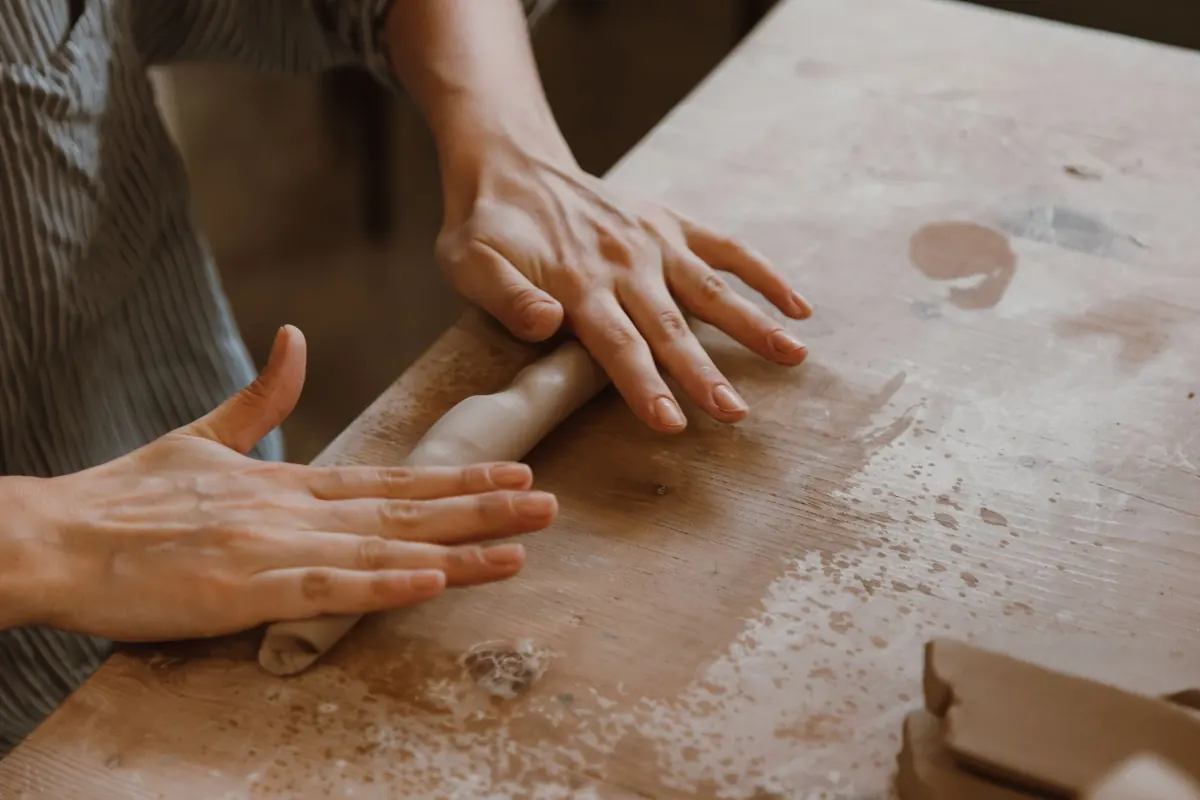
A practical costing checklist for small pottery studios, covering materials, kiln time, labor, overhead, and the wholesale and retail margins that turn a base cost into a fair shelf price.